Step-by-Step Instructions


WHAT YOU'LL NEED

Decorated
grad cap

Butter knife

Soft cloth or
towel

Shipping
tape

Lay your grad cap shadow box facedown on a clean towel. Gently bend back each flexible tab using a butter knife.
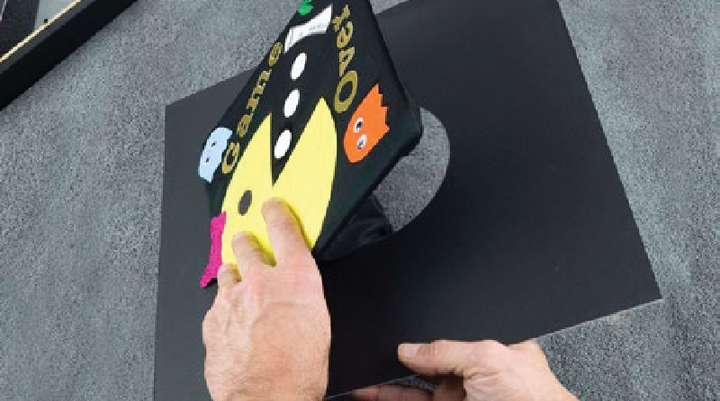
Gently remove the mounting board, leaving the glass in the shadow box. Hold the mounting board in one hand and grasp the area of your cap with the other hand as you carefully lower the headpiece fabric into the die-cut hole.

Turn the mounting board over. Pull the fabric through the back of the hole, gently guiding the cap's round cardboard insert through it; the cardboard insert should sit securely on the mounting board. Turn over and adjust your cap accordingly.

Place the mounting board into the frame. Grasp the bottom of the headpiece fabric and press flat; fold top of the headpiece over it, keep fabric as taut as possible. Securely tape the cap to the mounting board
