Step-by-Step Instructions


WHAT YOU'LL NEED
Soft cloth or towel

Pin
Butter knife


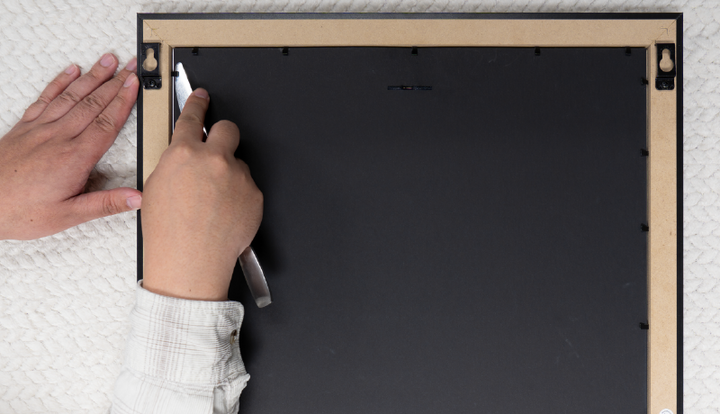
Lay frame facedown on soft cloth. Bend flexible tabs up with knife.

Remove backing board, recycled paper, and mat from the frame, leaving the mat laying facedown.

Center photo or certificate facedown in mat opening. Cut enclosed tape in half. Peel and place at top of photo ONLY. This prevents buckling and allows for natural expansion.

Locate the enclosed felt with the double-sided tape.
FOR A PUSHPIN BACK

Remove the paper from the double-sided tape on the enclosed felt. Adhere the felt to the back of the mat, covering the pin cutout.

Then, align the back of the mat with the front of the backing board.

From the front of the mat, center the pushpin in the cutout and push through the slot in the back of the backing board.

Replace the pin back.
FOR A BAR PIN BACK

Center the pin on the felt with the double-sided tape-side up.

Guide the back of the pin through the center as you would on a shirt and close the clasp

Remove the paper from the tape on the felt. Adhere the felt to the back of the mat, ensuring the pin is centered in the pin cutout.

Then, align the back of the mat with the front of the backing board. You should see the bar of the back of the pin aligned with the slot in the backboard.
